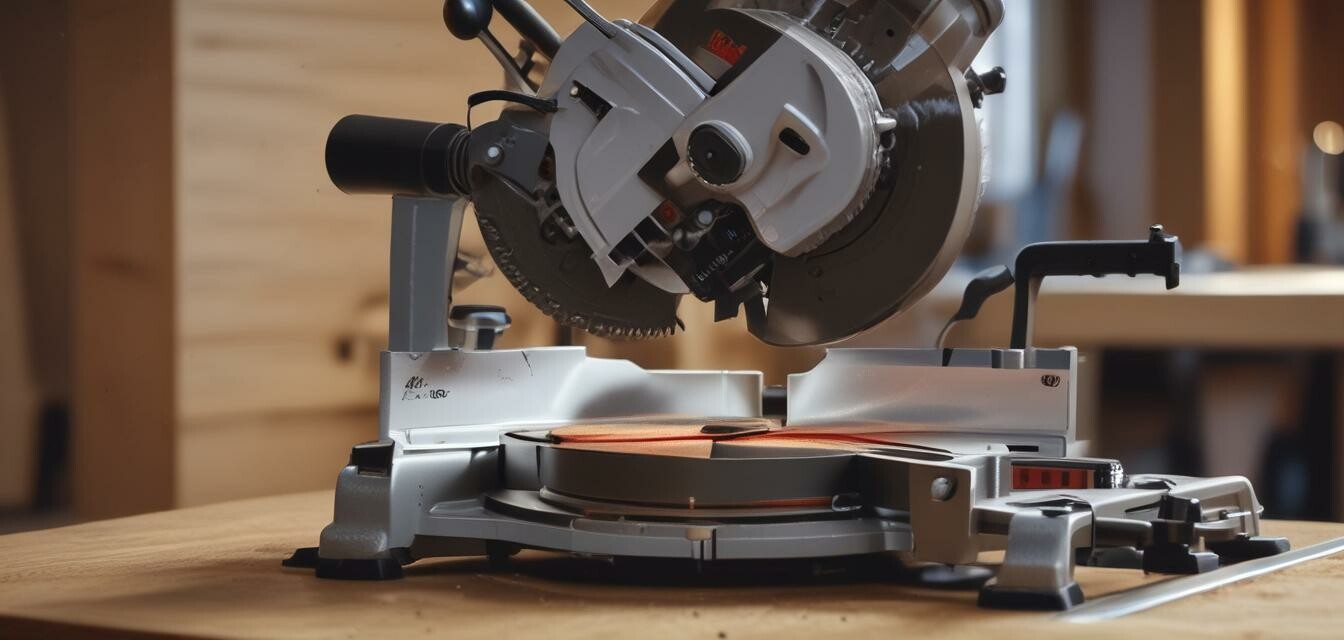
How to Cut Perfect Angles with a Miter Saw
Key Takeaways
- Understanding the miter saw's settings is crucial for accurate angle cuts.
- Proper measurements and marked lines ensure precise cutting.
- Different projects may require unique angles; adjust your saw accordingly.
- Safety first: always wear protective gear when operating the saw.
- Regular maintenance of your miter saw is important for consistent performance.
Cutting perfect angles with a miter saw is a fundamental skill for both contractors and DIY enthusiasts. Whether you're framing a new room or creating custom furniture, mastering this tool will ensure that your projects are professional and precise. In this guide, we’ll walk you through the techniques to achieve accurate angle cuts, the importance of safety measures, and best practices for using your miter saw effectively.
What is a miter saw?
A miter saw is a power tool used to make precise crosscuts and miter cuts on wood, plastic, and various other materials. This tool is essential for projects requiring angled cuts, making it a go-to choice for carpenters and DIY enthusiasts alike. Understanding your miter saw's features can make a world of difference in achieving clean, consistent cuts.
Understanding miter saw settings
Miter saws are equipped with several settings that allow you to cut straight, bevel, and angled cuts:
- Miter Angle: Adjusts the saw head to cut at a specific angle, usually between 0° and 45°.
- Bevel Angle: Tilts the saw blade to create compound cuts, allowing for unique joinery.
- Crosscut: A standard cut perpendicular to the wood's length.
Preparing to cut perfect angles
Tools needed
Before you begin, gather the following tools and materials:
- Miter saw
- Measuring tape
- Pencil
- Square
- Safety goggles
- Hearing protection
- Wood or material to cut
Step-by-step guide for making angle cuts
- Measure and mark: Take accurate measurements of your workpiece. Use a measuring tape and square to mark your desired angle on the wood.
- Set the miter angle: Adjust the miter saw to the angle you need. Most saws will have angle indicators to help you set it accurately.
- Use a stop block: For repeating angle cuts, consider using a stop block to maintain consistency.
- Double-check your markings: Ensure the marked line is visible and aligns with the saw blade.
- Make the cut: With the protective gear on, lower the blade steadily. Focus on the cut and let the saw do the work.
- Inspect the cut: After the cut, examine the angle for accuracy. If adjustments are needed, remeasure and recut if necessary.
Common angles used in projects
Different projects may require various angles. Here’s a table showing some common angles you might need for your woodworking:
| Project Type | Angle |
|---|---|
| Picture frames | 45° |
| Crown molding | 38° or 45° |
| Stairs | 30° or 45° |
| Furniture joints | 90° or 45° |
Safety precautions
Working with power tools necessitates a focus on safety. Here are essential precautions to follow when using a miter saw:
- Always wear safety goggles to protect your eyes from sawdust.
- Use ear protection to reduce noise exposure.
- Keep hands away from the cutting area.
- Ensure the workpiece is secured before making a cut.
- Disconnect the saw when changing blades or making adjustments.
Maintenance tips for your miter saw
Regular maintenance guarantees that your miter saw operates efficiently. Consider the following tips:
- Keep the blade clean and sharpened.
- Inspect and replace worn parts as needed.
- Ensure that the saw is correctly calibrated before use.
- Store the saw in a dry, protected area.
Beginners section
If you're new to using a miter saw, remember the following:
- Practice on scrap wood before attempting your project's final pieces.
- Always double-check your angle settings for accuracy.
- Don’t rush; take your time to make precise cuts.
Conclusion
Cutting perfect angles with a miter saw is a skill that greatly enhances your woodworking projects. By understanding the tool's settings, preparing carefully, and ensuring safety, you’ll be on your way to creating stunning results. For more tips and tricks on using your tools, check out our How-To Guides section.