Disclosure: This article may contain affiliate links. As an Amazon Associate, we earn from qualifying purchases. Some content may be created with the assistance of AI tools.
How to Build a Portable Tool Workshop
Key Takeaways
- Select the right tools based on your needs.
- Ensure proper organization to save time.
- Utilize storage solutions that are easy to transport.
- Consider safety measures and best practices.
- Choose a versatile work surface for various tasks.
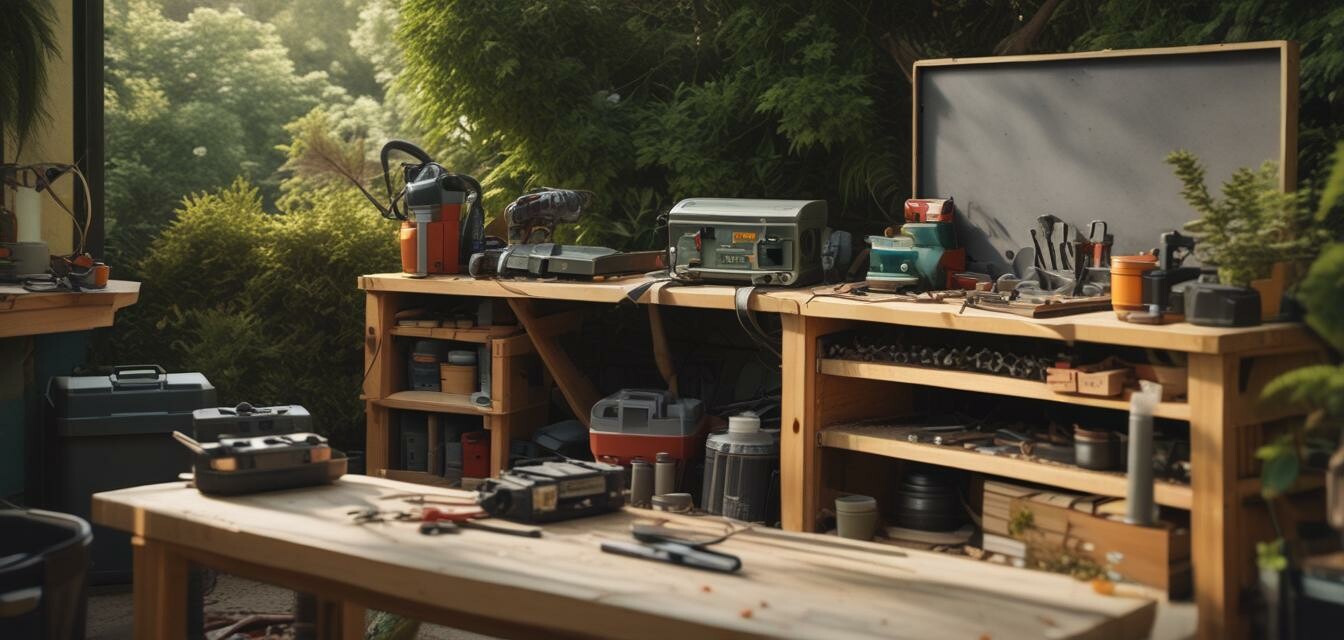
Setting up a portable tool workshop is an excellent way to ensure you can work efficiently and effectively, whether at home or on the go. This guide will take you through the steps to create a well-organized and functional workspace tailored to your needs.
Step 1: Identify your needs
The first step in building a portable tool workshop is to identify the tools and equipment you'll need. Consider the following factors:
- Types of projects you frequently tackle.
- Specific tools that are essential for your work.
- Space limitations and portability requirements.
Common tools for a portable workshop may include:
| Tool Type | Purpose |
|---|---|
| Cordless drill | For drilling holes and driving screws |
| Portable saw | For cutting materials on-site |
| Sanders | For smoothing surfaces |
| Impact driver | For driving fasteners with torque |
| Multi-tool | For versatile applications |
Step 2: Choose your workspace
Your workspace is crucial for a portable tool workshop. Here are some options to consider:
- Foldable workbench
- Portable work tables
- Workbench with built-in storage
When selecting a workstation:
- Ensure it provides ample surface area.
- Look for lightweight options for easy transport.
- Check stability and durability.
Step 3: Organize your tools
Effective organization is key to a successful portable workshop. Here are some organization tips:
- Use toolboxes or organizers for easy access.
- Label storage containers for quick identification.
- Utilize wall-mounted racks if working in a stable location.
Storage solutions
| Storage Option | Advantages |
|---|---|
| Tool bags | Portable and easy to carry |
| Rolling tool chest | Offers plenty of storage with wheels for transport |
| Plastic bins | Inexpensive and stackable |
Step 4: Safety first
Safety should always be a priority when working with tools. Here are some essential safety tips:
- Wear appropriate personal protective equipment (PPE).
- Ensure proper ventilation when using power tools.
- Keep a first aid kit readily available.
- Familiarize yourself with safety features of each tool.
Best practices
Some best practices to keep in mind include:
- Regularly inspect tools for wear and damage.
- Store tools in a safe manner to prevent accidents.
- Maintain a clutter-free workspace.
Step 5: Make it your own
Your portable workshop should reflect your personal style and working habits. Consider adding personal touches such as:
- Custom labels for each tool.
- Color-coded storage for easy identification.
- Incorporating a workspace decoration that inspires you.
Pros
- Enhanced convenience for projects away from home
- Increased efficiency with organized tools
- Flexibility to work in various locations
Cons
- Initial setup costs for quality tools
- Higher potential for tool loss or damage
- Transporting a large setup can be cumbersome
Final thoughts
Setting up a portable tool workshop requires careful planning and organization, but the benefits are well worth the effort. With the right tools, a smartly designed workspace, and a focus on safety, you'll be well-equipped to tackle any project with ease.
Further reading
To enhance your skills and knowledge, check out our other guides:
