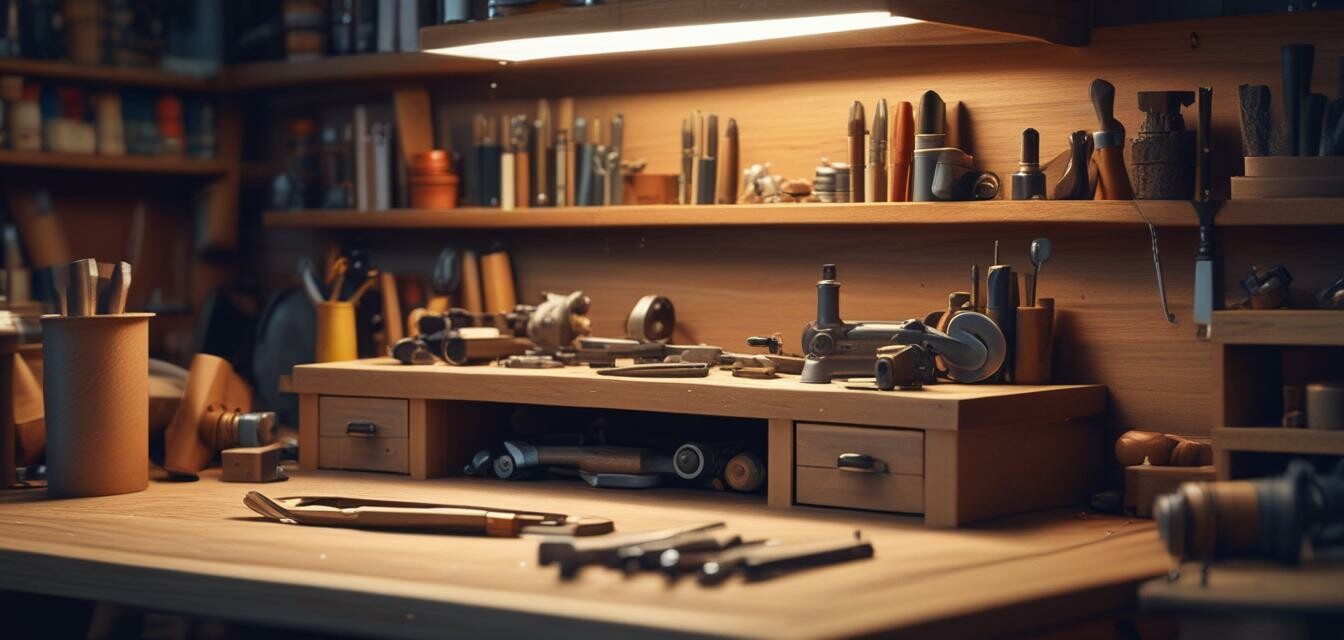
How to Build a DIY Workbench
- Building a workbench is a rewarding project for both DIY enthusiasts and contractors.
- Choosing the right materials ensures durability and stability.
- Knowing the essential tools and techniques required makes construction easier.
- Safety is paramount, so always wear protective gear and work in a safe environment.
- Customization allows you to tailor your workbench to your specific needs.
A DIY workbench is an essential addition to any workshop. It provides a sturdy surface for various projects, from woodworking to final assemblies. In this guide, we will explore the materials needed, the tools required, and step-by-step instructions for building your own workbench.
Why Build Your Own Workbench?
Constructing your own workbench offers several advantages. Firstly, you can customize the size and features according to your specific needs. Secondly, it can be a cost-effective solution compared to purchasing a pre-made bench. Lastly, building it yourself provides the satisfaction of creating something useful.
Materials Needed
| Material | Quantity | Notes |
|---|---|---|
| 2x4 lumber | 10 - 15 pieces | For the frames and support |
| Plywood (3/4 inch) | 1 sheet | For the work surface |
| Screws | 1 box | 3-inch wood screws for assembly |
| Wood Glue | 1 bottle | For added strength |
| Varnish or Paint | 1 can | To finish and protect the wood |
Tools Required
- Measuring tape
- Square
- Saw (circular or miter)
- Drill
- Screwdriver
- Sandpaper
Step-by-Step Instructions
Step 1: Planning Your Workbench
Before you start, sketch out your desired workbench design. Consider the dimensions, the height, and any additional features such as storage compartments or tool racks.
Step 2: Cut the Lumber
Using your saw, cut the 2x4 lumber into the necessary lengths based on your design. Make sure to double-check your measurements for accuracy.
Step 3: Assemble the Frame
Create a rectangular frame by connecting the cut pieces of 2x4 using screws and wood glue for reinforcement. Use the square to ensure your corners are right angles.
Step 4: Attach the Legs
Secure the 2x4 pieces vertically at each corner for legs. These should be sturdy enough to support the weight of the workbench and any tools or materials.
Step 5: Attach the Work Surface
Lay the plywood sheet on top of the frame and secure it with screws. Make sure it is flush with the edges of the frame for a clean finish.
Step 6: Sand and Finish
Sand the edges and surfaces of the workbench to smooth out any rough spots. Once sanded, apply varnish or paint to protect the wood and enhance its appearance.
Safety Tips
Prioritize safety throughout your project:
- Always wear protective gear, including goggles and gloves.
- Ensure your workspace is clean and organized.
- Familiarize yourself with the tools you are using.
- Work slowly and don't rush through tasks.
Customization Ideas
Your workbench can be enhanced with various features. Consider the following customizations:
- Add shelves or drawers for tools and materials.
- Install a vice for holding materials securely.
- Incorporate a pegboard above for organized tool storage.
Frequently Asked Questions
What are the best dimensions for a workbench?
The ideal dimensions depend on your height and the types of projects you do. Generally, a height of 30 to 36 inches works for most users.
How do I maintain my workbench?
Regularly clean your workbench to prevent damage. Periodically check for loose screws and re-tighten them as needed.
Can I build a workbench on a budget?
Absolutely! Using reclaimed wood and repurposing materials can significantly reduce costs.
Pros
- Customizable to your specific needs.
- Cost-effective alternative to store-bought options.
- Highly satisfying DIY project.
Cons
- Requires time and effort to build.
- Initial investment in tools and materials may be necessary.
Key Takeaway
Building a DIY workbench is a fulfilling project that can greatly enhance your workspace. By following the steps above and customizing your design, you'll end up with a functional and personalized workbench that meets your project needs.
Learn More
If you found this guide helpful, explore our other resources on building and maintaining your workshop:
