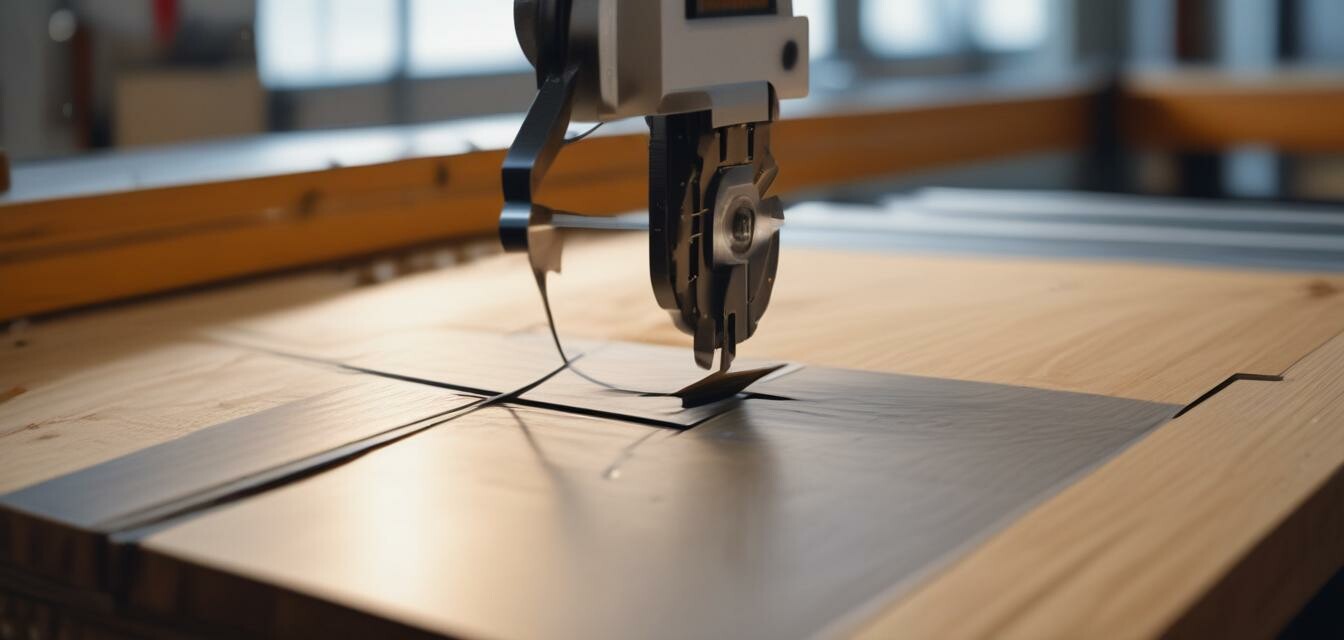
The Art of Precision Cutting with a Table Saw
Key Takeaways
- Understanding table saw components is crucial for precise cuts.
- Proper alignment and adjustment can significantly enhance accuracy.
- Using the right techniques can help reduce waste and improve safety.
- Regular maintenance of the table saw ensures optimal performance.
When it comes to woodworking projects, achieving precision in your cuts is foundational. Whether you’re a professional contractor or a dedicated DIY enthusiast, mastering the table saw is vital for high-quality finishes. In this guide, we will explore various techniques, tools, and practices to help you achieve precision cuts using a table saw.
Understanding the table saw
The table saw is a powerful tool that consists of a circular blade mounted on an arbor, driven by a motor. It can be adjusted to make various types of cuts, including crosscuts and rip cuts. To effectively use a table saw, it's essential to understand its main components:
| Component | Description |
|---|---|
| Table | The flat surface where the wood is placed for cutting. |
| Blade | The circular component that cuts through the wood. |
| Fence | A guide that helps make straight cuts by holding the wood in place. |
| Guard | Safety feature that covers the blade when not in use. |
| Adjustable Riser | Allows for changes in blade height based on cutting needs. |
Setting up for precision
Before making a cut, ensure your table saw is correctly set up:
- Check the blade: Ensure it is sharp and the right type for the material being cut.
- Align the fence: The fence should be parallel to the blade to ensure straight cuts.
- Set the height: The blade should be set slightly higher than the thickness of the material being cut.
- Use push sticks: Always use push sticks or other safety devices when cutting small pieces.
Techniques for precise cuts
Utilizing specific techniques can improve the accuracy of your cuts:
1. Measuring and marking
Always measure two or three times before making a cut. Use a quality measuring tape and a square for marking to ensure accuracy.
2. Test cuts
Make test cuts on scrap pieces of wood to verify your measurements and settings. This helps avoid errors on your actual workpiece.
3. Consistent feed rate
Maintain a consistent speed while feeding the material through the blade. Rushing can lead to uneven cuts.
4. Use of jigs
Consider using jigs for repetitive cuts. Jigs can help produce uniform results quickly.
Safety first
Safety is paramount when working with a table saw:
- Always wear safety glasses to protect your eyes from flying debris.
- Ensure the blade guard is functioning properly.
- Keep hands clear of the blade and use proper tools to push material.
- Never reach over the blade while the saw is running.
Maintenance of your table saw
Maintaining your table saw will not only extend its life but also enhance its cutting efficiency:
Regular checks
- Inspect the blade regularly for damage.
- Keep the table surface clear of debris and substances that may interfere with cuts.
- Lubricate components as specified in the manufacturer’s manual.
Storage
Store your table saw in a dry place, and use a cover to protect it from dust and moisture when not in use.
Pros
- Creates precise and clean cuts.
- Versatile for various woodworking projects.
- Can handle thick materials with ease.
Cons
- Can be dangerous if not used properly.
- Requires space for setup.
- Initial cost can be high for quality models.
Conclusion
Mastering the art of precision cutting with a table saw is invaluable for any woodworker. By understanding your tool, practicing proper techniques, and prioritizing safety, you can elevate your woodworking projects significantly. For further tips and techniques, check out our How-To Guides section.
